EVAP Purge Valve Smoke Test: Where It Fits in a Proper Diagnosis
Direct answer: a purge valve is one possible leak path, not an automatic replacement
An evap purge valve smoke test can help show whether vapour is escaping around the purge control valve or its related pipework, but visible smoke at that valve is not proof that the part must be replaced. Treat the purge solenoid as one possible leak path among several, isolate the finding, and confirm the fault with the vehicle’s service information before ordering parts.
What the purge valve does in the EVAP path
The evaporative emission (EVAP) system holds fuel vapour in a sealed route that typically includes the fuel tank, vapour lines, charcoal canister, vent path, and a purge control valve (often called a purge solenoid). When commanded open by the engine control module, the purge valve meters vapour into the intake for combustion. When closed, it should help keep the vapour side sealed so the system can hold pressure or vacuum during leak checks.
Because the valve sits on a seal-critical path, a sticking, cracked, or poorly sealed purge valve can contribute to small or large EVAP leak codes. It is not the only candidate: line connections, the fuel cap, and vent-side components are also common possibilities, which is why manufacturer guidance lists more than one check before parts are changed.
Why service-port availability changes the connection plan
How you introduce smoke depends on whether the vehicle has a dedicated EVAP service port. Manufacturer service information for some platforms distinguishes vehicles with and without that port, and includes a separate purge-valve check when a service port is not available. Follow the sequence for the vehicle in front of you rather than a generic workshop habit.
Connect any smoke tester only as the applicable service instructions require. Late-model or sensitive EVAP systems may need a different OEM sequence, including sealed-system precautions that are not the same as older service-port layouts. Do not treat one vehicle’s port location or hose join as a universal connection point for every make and model.
Vehicle-specific scan-tool commands and valve state
A purge solenoid leak test is most useful when the valve’s commanded state matches what the diagnostic procedure asks for. Scan-tool outputs and valve states are vehicle-specific: some procedures open or close the purge path, run a quick EVAP self-test, or require other actuators before smoke is introduced. Do not use pin-outs, commanded states, or connection points copied from another model as universal instructions.
Where the manufacturer places an EVAP quick test before smoke testing, complete that step first and only then connect the smoke equipment as directed. That order helps avoid chasing false smoke trails created by valves left in the wrong state for the test.
Observe, isolate and confirm before replacing parts
When smoke appears near the purge control valve, pause before condemning the solenoid. Confirm whether the mist is coming from the valve body, a cracked nipple, a loose hose, or an adjacent joint. Gently isolate the area—without forcing fittings—and recheck so you are not mistaking vapour from a nearby line for a failed purge valve.
Manufacturer diagnostic tips commonly list purge and vent valves, line connections, and the fuel cap among possible causes, and they direct technicians back to the applicable service information rather than a single parts swap. Visible smoke alone is not a replacement order: finish isolation, clear or re-run the leak monitor as the procedure requires, and only then decide whether the purge valve itself is at fault.
Cases where vacuum testing or OEM diagnostics are required
Smoke-assisted leak finding is useful for many pipework and seal paths, but it does not replace OEM diagnostics on every vehicle. Some platforms expect vacuum decay checks, sealed-system monitors, or control-module guided routines before or instead of a free-form smoke pass. If the service information calls for those steps—or if the EVAP system is known to be sensitive—follow that path rather than improvising.
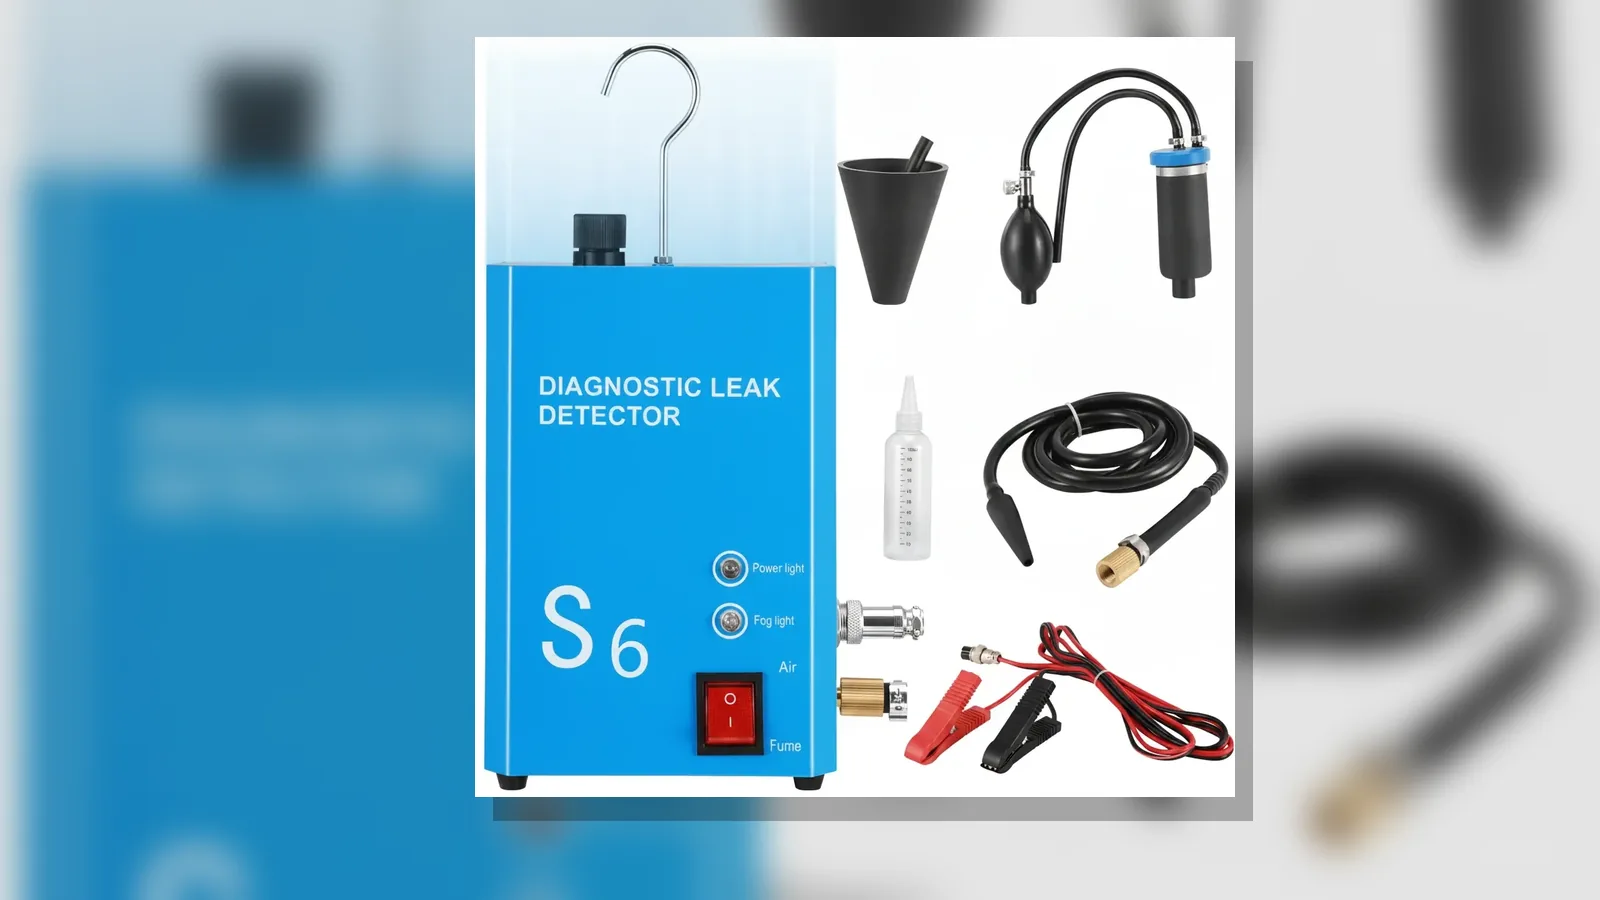
Use smoke as a locating aid within the documented plan: introduce it only where instructed, watch for escape points, then verify with the manufacturer’s confirmation method. For general automotive pipework leak finding with a workshop smoke kit, see the current product details for an automotive smoke leak detector. That category supports smoke-assisted inspection of vehicle pipework; always pair it with the correct vehicle procedure and do not assume model-specific adaptors are included unless your kit documentation lists them.
When you are ready to equip a bay for EVAP and related vapour-line checks, review the EVAP smoke machine product page for kit options suited to smoke-assisted pipework leak finding.
FAQ
Does smoke at the purge valve mean I should replace it immediately?
No. Smoke shows a possible escape path. Isolate the source, confirm with the vehicle’s diagnostic steps, and only then replace the purge valve if the procedure identifies it as the fault.
What is the difference between a purge solenoid leak test and a full EVAP diagnosis?
A purge-focused smoke check looks at sealing around the purge control valve and nearby lines. Full EVAP diagnosis also considers the fuel cap, vent path, canister side, line joints, and any OEM-required vacuum or monitor tests.
Can I use one connection method for every car?
No. Service-port availability and OEM connection points vary. Use the service instructions for that vehicle, especially on late-model or sensitive EVAP systems that may require a different sequence.
Where does smoke testing sit relative to scan-tool commands?
Often after any required quick test or commanded valve states are set correctly. Commanded states are not universal; follow the scan-tool and service steps for the specific platform.